Installing a gps tracker in a vehicle is one of the most practical steps you can take toward protecting your fleet, monitoring driver behavior, or securing a personal vehicle against theft. The process may seem straightforward at first glance, but a poorly installed gps tracker can lead to inaccurate data, device failure, or even damage to your vehicle's electrical system. Whether you are setting up a single unit or managing a large fleet rollout, understanding the correct installation techniques will save you time, money, and frustration down the road.
A professional-grade gps tracker installation is not simply about plugging in a device and hoping for the best. It requires careful planning around power sourcing, antenna placement, wiring protection, and device concealment. This guide walks through the most important installation tips to help you get the most accurate, reliable, and tamper-resistant performance from your gps tracker, regardless of the vehicle type or application.
Understanding Your GPS Tracker Before Installation
Types of GPS Trackers and Their Installation Requirements
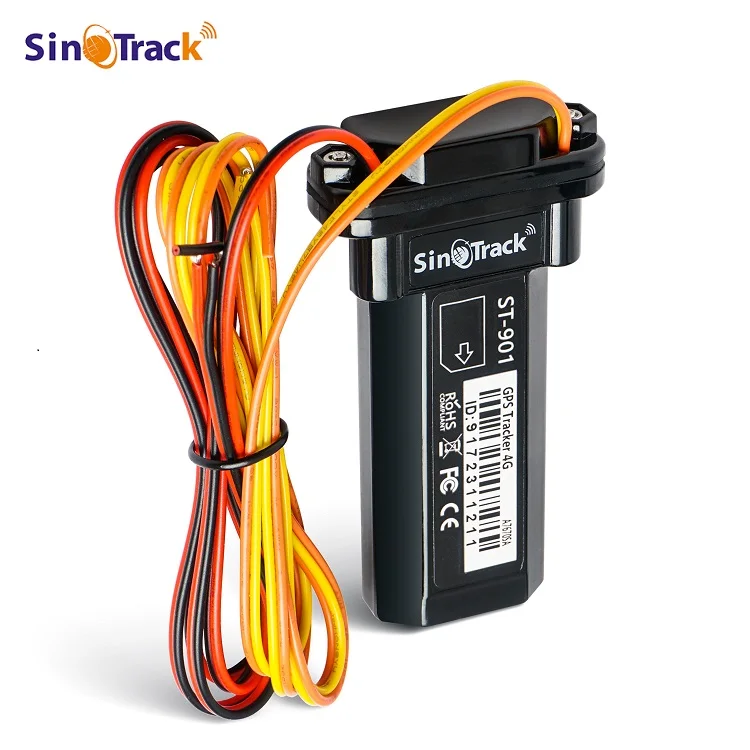
Before you pick up a wire or open a panel, it is essential to understand what type of gps tracker you are working with. Hardwired GPS trackers require a direct connection to the vehicle's power system, making them more permanent and reliable for long-term fleet use. Plug-and-play OBD-II trackers insert directly into the vehicle's onboard diagnostic port, while battery-powered trackers offer placement flexibility without wiring but need periodic recharging.
Each type of gps tracker has a different installation profile. A hardwired unit like a relay-supported model provides deeper integration with vehicle systems, allowing features like remote engine cutoff and ignition detection. Knowing your device's capabilities and connection requirements in advance ensures you gather the right tools and plan the correct installation route before starting the job.
For example, the gps tracker models that support relay connections are designed to integrate directly with the vehicle's ignition and power circuits, giving fleet managers both tracking capability and remote immobilization in a single compact unit. Understanding this distinction helps you prepare the proper wiring approach and select the best installation location.
Reading the Device Manual and Wiring Diagram
This step is often skipped, but it is among the most critical. Every gps tracker model comes with a specific wiring schematic that must be followed precisely. Ignoring the manual can result in reversed polarity connections, blown fuses, or damaged internal circuits. Take time to read the diagram carefully before touching any wire in the vehicle.
Pay close attention to the pin configuration of your gps tracker. A four-pin device, for instance, will typically have connections for constant power, ground, ignition sensing, and relay output. Misidentifying any of these pins during installation can cause the device to fail silently — powering on but transmitting incorrect or no data. Cross-referencing the device pinout with your vehicle's wiring harness is a non-negotiable step.
Choosing the Right Installation Location
Concealment Versus Signal Quality
Placement is one of the most consequential decisions in any gps tracker installation. You want to hide the device from potential tampering while ensuring the GPS antenna has a clear view of the sky. These two goals can sometimes conflict, but experienced installers know how to balance both effectively.
The GPS signal used by a gps tracker comes from satellites orbiting above, which means any metal obstruction between the antenna and the sky will degrade or block signal reception. Ideal locations include beneath the dashboard (for discreetness with minimal metal interference), behind the rear seat near the rear windshield, or inside the trunk area near the back glass. Always avoid placing the device under thick metal panels or inside enclosed metal compartments.
GSM cellular signal is also a factor for a gps tracker that transmits data in real time. Ensure the device has reasonable proximity to the exterior of the vehicle to allow strong cellular communication. Locations deep inside the chassis or surrounded by metal shielding may cause signal dropout even if GPS reception is acceptable.
Avoiding Heat, Vibration, and Moisture Exposure
Environmental factors significantly impact the long-term reliability of a gps tracker. Excessive heat near the engine bay, for example, can degrade the device's internal components over time. Vibration from the chassis or drivetrain can loosen connectors and cause intermittent power loss. Moisture ingress, especially in trucks or off-road vehicles, can short-circuit the device entirely.
To protect your gps tracker from these hazards, always mount the device on a stable, vibration-dampened surface using the provided adhesive or bracket. Avoid areas where condensation accumulates, such as beneath door seals or near air conditioning vents. If the vehicle is frequently used in wet environments, consider using heat-shrink tubing and waterproof connectors on all wiring junctions.
Proper Wiring Practices for Hardwired GPS Trackers
Connecting to the Correct Power Source
A hardwired gps tracker must be connected to both a constant power supply and the vehicle's ignition circuit. The constant power keeps the device alive and sending location pings even when the engine is off, which is critical for theft detection. The ignition wire allows the gps tracker to detect when the vehicle is running, enabling ignition-on and ignition-off event logging.
Use a multimeter to verify wire voltages before making any connections. The constant power wire should read approximately 12V at all times, while the ignition wire should read 12V only when the key is in the 'on' or 'run' position. Never guess which wire is which based on color alone, as wiring color standards vary significantly between vehicle manufacturers and model years.
Always connect the gps tracker power through an inline fuse rated appropriately for the device, typically between 1A and 3A. This protects both the gps tracker and the vehicle's electrical system in the event of a short circuit. Fuse holders should be placed as close to the power source as practically possible, ideally within 18 inches of the connection point.
Securing and Protecting the Wiring Harness
Loose, unsecured wiring is one of the most common causes of gps tracker failure in the field. Wires that rub against metal edges can wear through insulation and create shorts. Wires that hang freely can be pulled loose over time due to vibration or incidental contact with other components. Every wire run associated with your gps tracker installation should be routed deliberately and secured using cable ties or wire loom conduit.
Avoid routing the gps tracker wiring harness through areas with sharp metal edges without first protecting the wire with rubber grommets or edge protectors. When passing wires through firewall penetrations, always use existing grommets rather than drilling new holes. Keep signal wiring separated from high-current wiring like ignition coils or alternator output cables to prevent electromagnetic interference.
Testing and Verifying the Installation
Powering On and Confirming Signal Acquisition
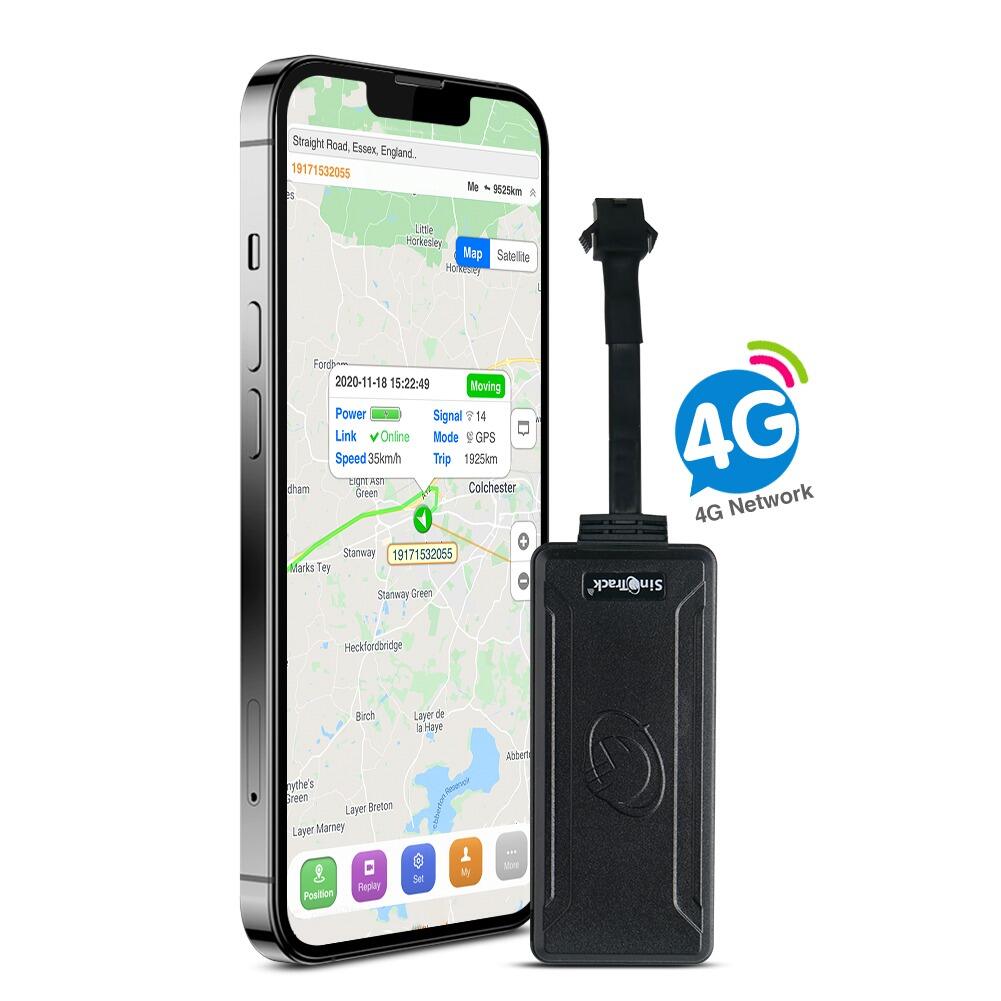
Once the gps tracker is physically installed and all wires are connected, the next step is to power on the device and confirm it is operating correctly. Most gps tracker units include indicator LEDs that communicate the device's status — one for GPS signal acquisition and one for GSM network connection. Wait for both indicators to show a stable signal before proceeding.
Open the associated mobile app or web platform and verify that the gps tracker is reporting its current location accurately. Compare the reported location against a known reference, such as your actual street address, to confirm the GPS coordinates are precise. A well-installed gps tracker should be accurate to within a few meters under open-sky conditions.
Simulating Real-World Conditions
Testing under static conditions is not sufficient. Take the vehicle for a short drive and confirm that the gps tracker continues to transmit location updates at the expected interval. Check that ignition-on and ignition-off events are logged correctly, and if a relay function is included, verify that remote commands are received and executed properly.
If the gps tracker loses signal in specific areas such as parking garages or dense urban canyons, this is generally acceptable behavior due to natural GPS limitations. However, if the device loses signal in open conditions or fails to reconnect after signal interruption, this may indicate a wiring issue, a mounting location problem, or a device configuration error that needs to be addressed before the vehicle is returned to service.
Maintenance Considerations After Installation
Periodic Inspection of Connections and Mounting
A gps tracker installation is not a one-time task and forget event. Regular inspection of the wiring harness, mounting hardware, and antenna connections is important, especially for vehicles operating in harsh environments. Set a schedule to visually inspect the device and its wiring every few months or after significant mechanical work is performed on the vehicle.
Pay attention to any changes in tracking accuracy or connectivity that might indicate a loosened wire or antenna connection. If the gps tracker begins reporting erratic locations or fails to check in at the expected intervals, this is often an early warning sign of a compromised power connection rather than a device failure. Catching these issues early avoids more significant problems later.
Firmware Updates and Platform Synchronization
Many modern gps tracker devices support over-the-air firmware updates that improve performance, fix bugs, and add new features. Staying current with firmware updates ensures your gps tracker continues to function optimally as tracking platforms evolve. Check the device manufacturer's platform periodically for available updates and apply them during low-usage periods to minimize operational disruption.
Also verify that the device remains properly registered and synchronized with the platform's backend. A gps tracker that has dropped off the platform due to an expired SIM, account issue, or configuration change will appear offline even though the hardware may be functioning normally. Routine platform checks are as important as physical inspections for maintaining reliable tracking coverage across your entire vehicle operation.
FAQ
Where is the best place to hide a gps tracker in a vehicle?
The best location for a gps tracker balances concealment with GPS signal quality. Common effective locations include beneath the dashboard, behind the rear seat, or near the rear windshield. Avoid enclosed metal spaces that block satellite signals. The device should be secured firmly to prevent movement and not be visible from common inspection points under the hood or along the floorboard.
Can a gps tracker drain my vehicle's battery?
A properly installed gps tracker draws very little current, typically between 20mA and 50mA in standby mode. This is unlikely to drain a healthy vehicle battery under normal circumstances. However, if the vehicle sits unused for extended periods, even this low draw can accumulate. High-quality gps tracker devices include sleep modes that further reduce power consumption during long idle periods, minimizing any impact on the battery.
Do I need professional help to install a hardwired gps tracker?
While technically capable individuals can install a hardwired gps tracker themselves, professional installation is recommended for those unfamiliar with automotive wiring. Incorrect connections can damage the vehicle's electrical system or render the gps tracker non-functional. If you choose to self-install, always follow the device's wiring diagram, use a multimeter to verify voltages, and protect all connections with proper insulation and fusing.
How do I know if my gps tracker is working correctly after installation?
After installation, power on the gps tracker and check the LED indicators for GPS and GSM signal confirmation. Log into the associated tracking app and verify the device shows your current location accurately. Take the vehicle for a short test drive and confirm that real-time location updates are being received. Also test ignition event detection by starting and stopping the vehicle and confirming those events are logged in the platform.